
The Best Camera Settings for Street Photography
The Best Camera Settings for Street Photography
The exact settings I use to catch every moment on the street, and the reason behind each one.
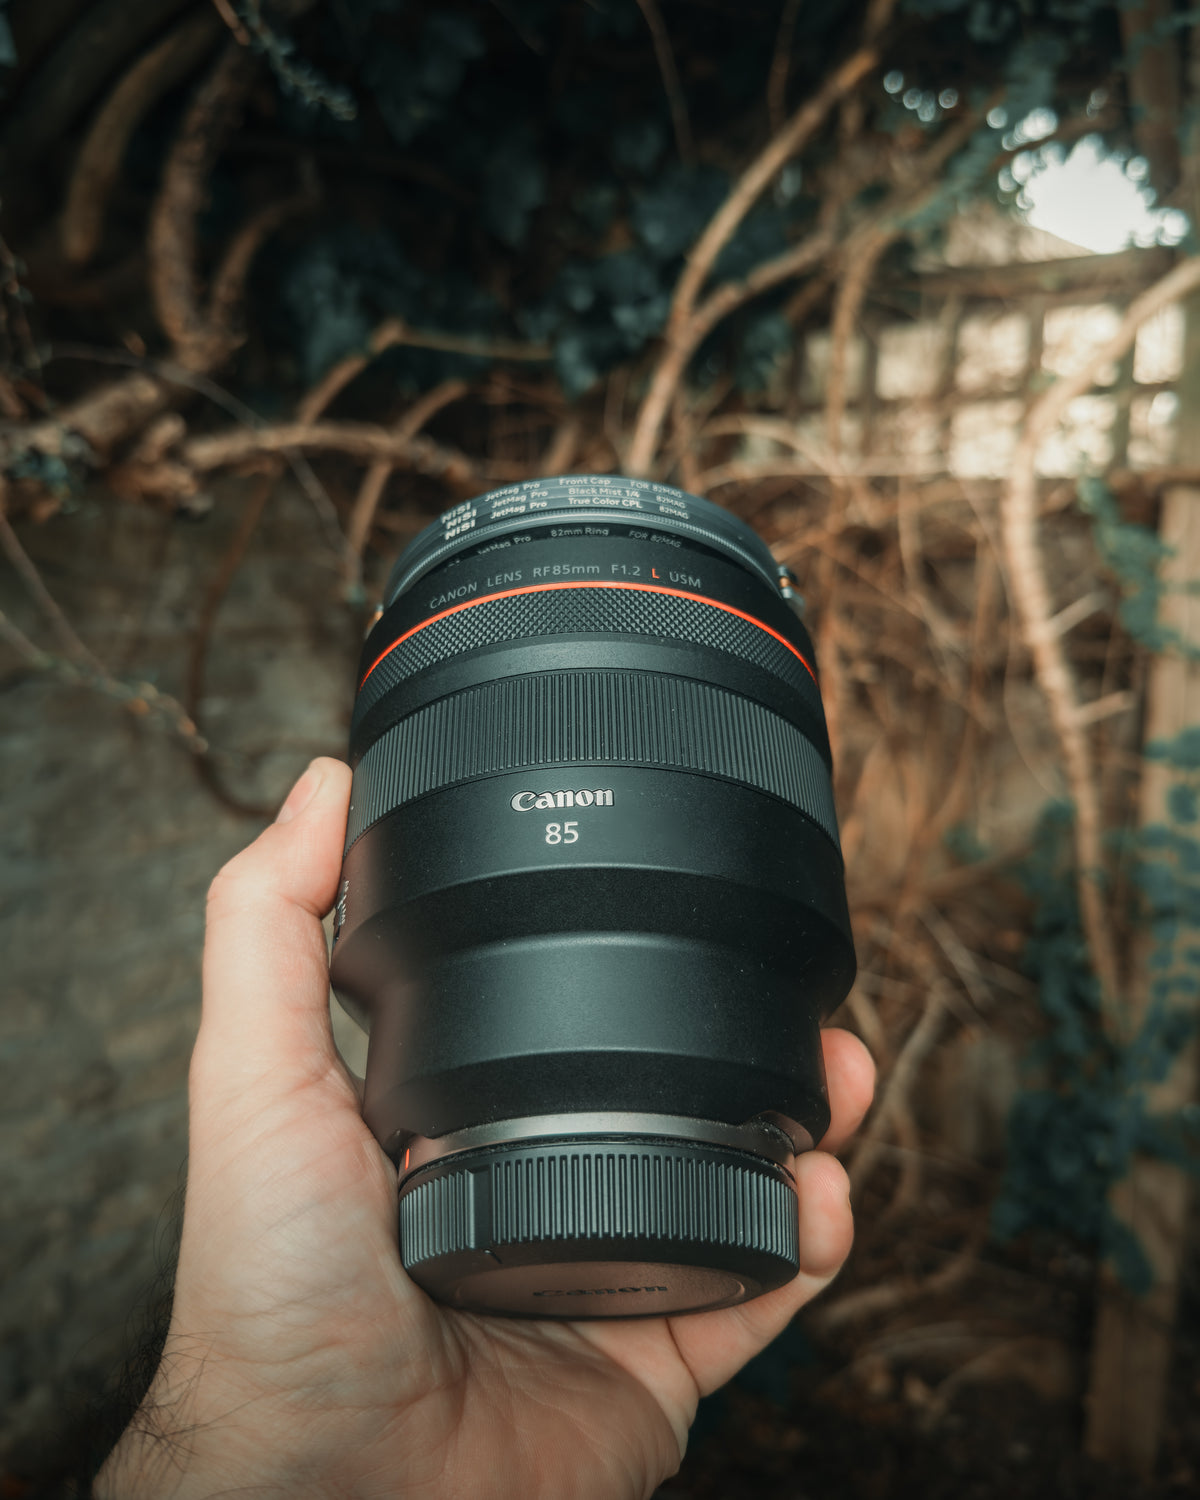
I don’t change my settings on the street. I set them once, save them to the camera, and keep my attention on the only two things that matter: where the focus point goes, and when to press the shutter. Here is everything I use, and why.
My settings at a glance
| Setting | What I use | Why |
|---|---|---|
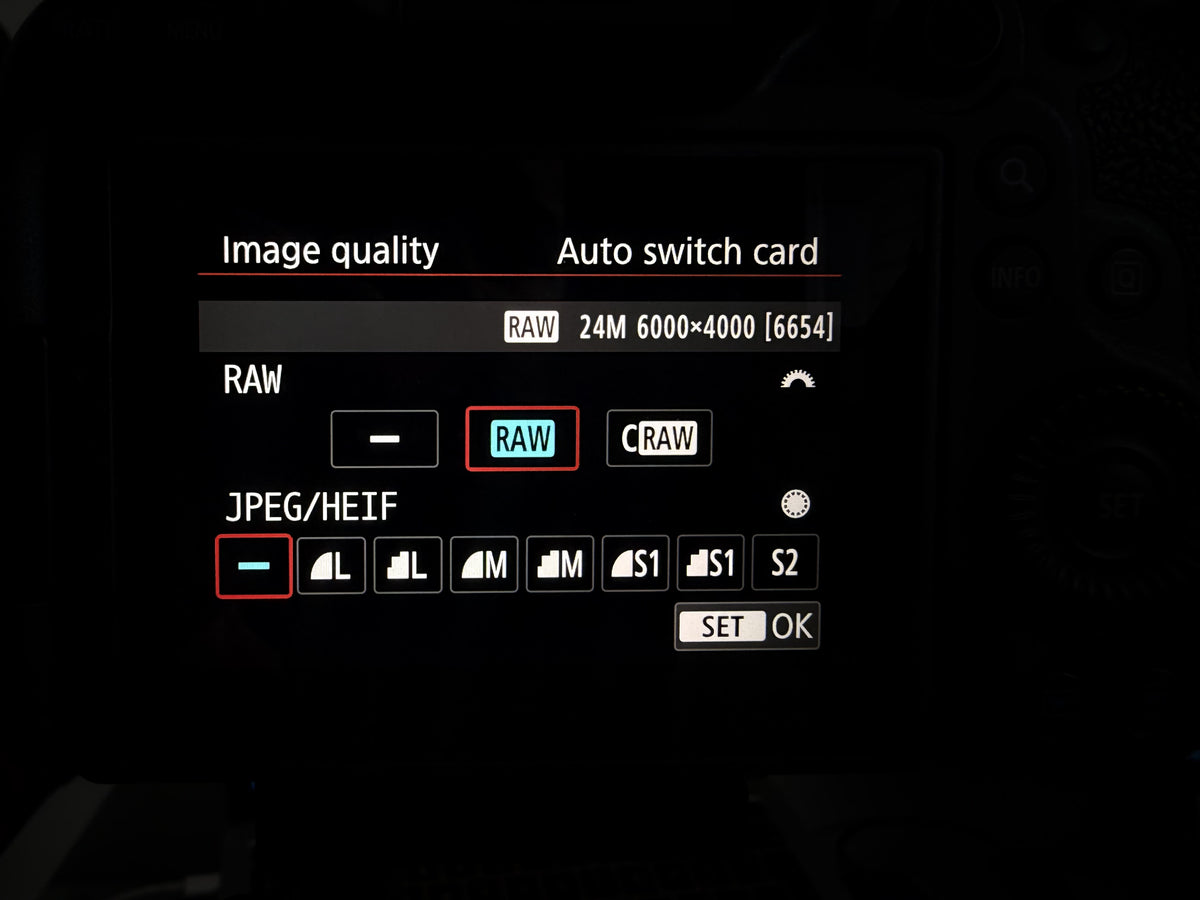
| Image quality | RAW | Most light data, most editing freedom |
| Shooting mode | Aperture priority (Av) | I set the f-number, the camera does the rest |
| Aperture | f/1.2 | Subject separation and low light, about 95% of the time |
| ISO | Auto | Stays low in good light, rises when it has to |
| Minimum shutter speed | 1/250 | Double the focal length of my 85mm, rounded up |
| White balance | Auto | I can change it freely in RAW anyway |
| Drive mode | High-speed continuous | Sequences of a scene, pick the best later |
| Subject detection | Auto | The camera recognises and follows the subject |
| AF area | Spot AF | I choose exactly what is sharp |
| AF operation | Servo AF | Keeps tracking a moving subject |
| Focus button | AF-ON (back button) | Focus and track without half-pressing the shutter |
| Metering | Evaluative | The default. I have never changed it |
| Custom modes | C1 / C2 / C3 | Save setups for day, night and single-shot work |
Menu names are from the Canon EOS R6 Mark II. Other brands have the same settings under slightly different names.
Shoot in RAW
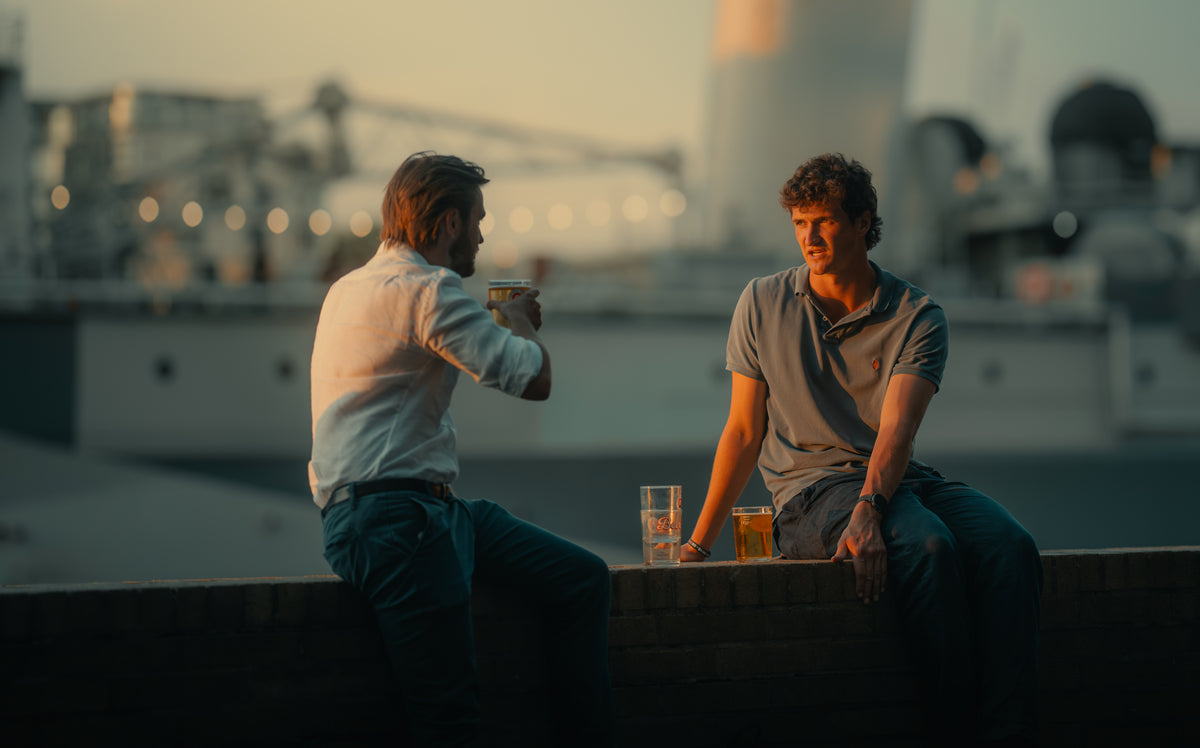
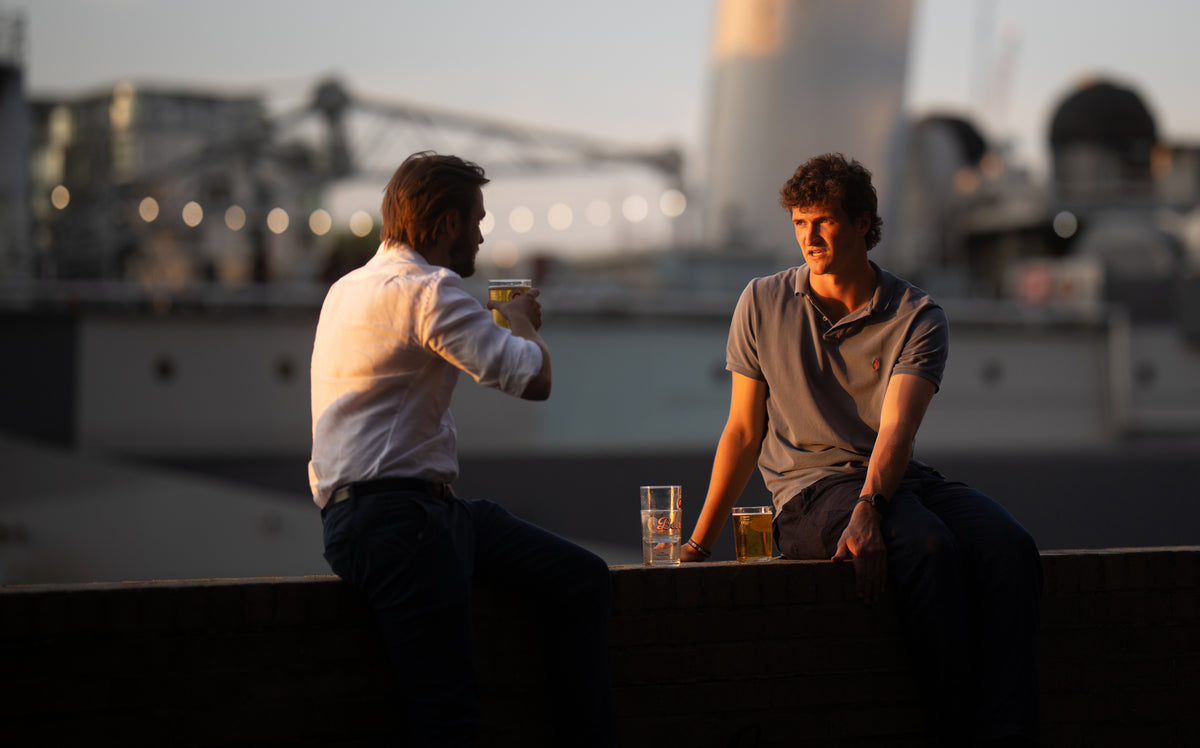
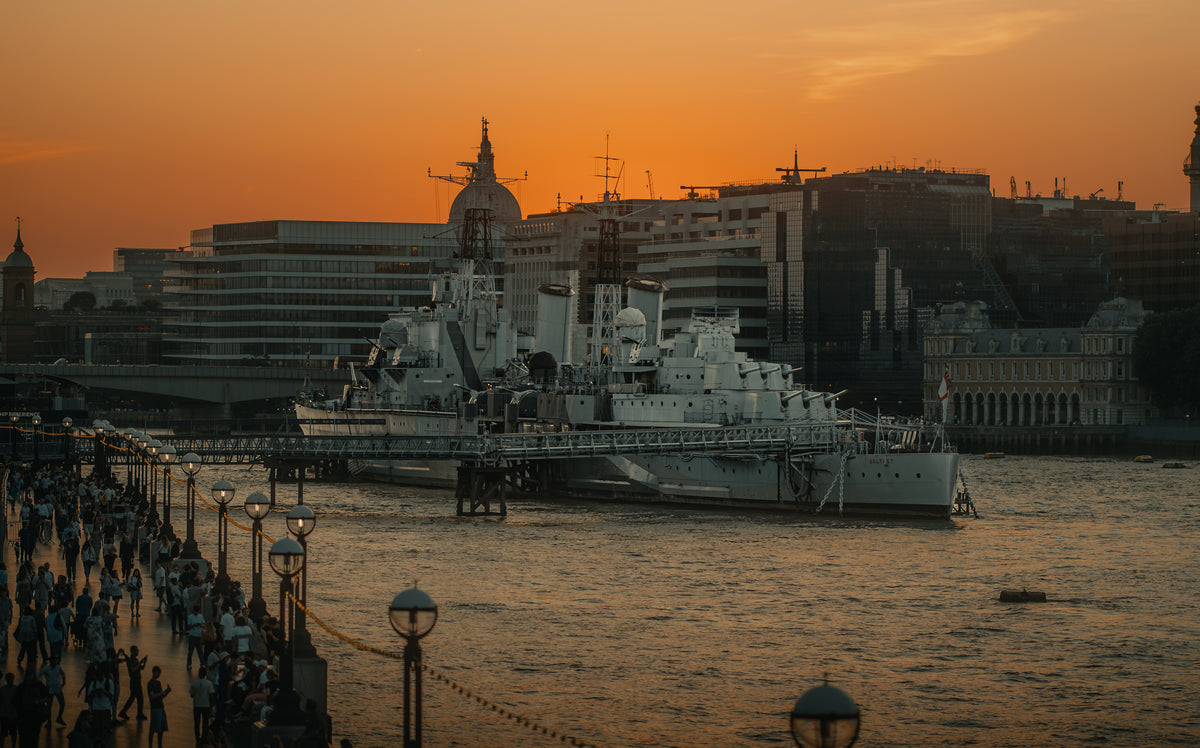
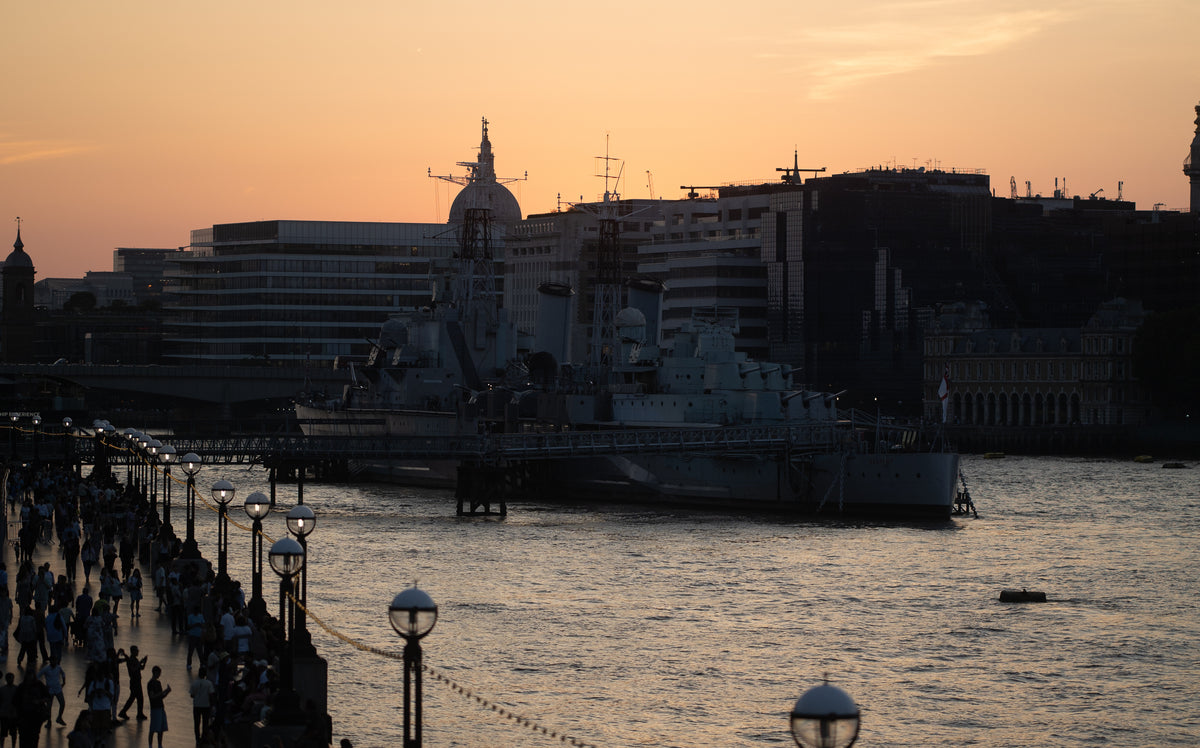
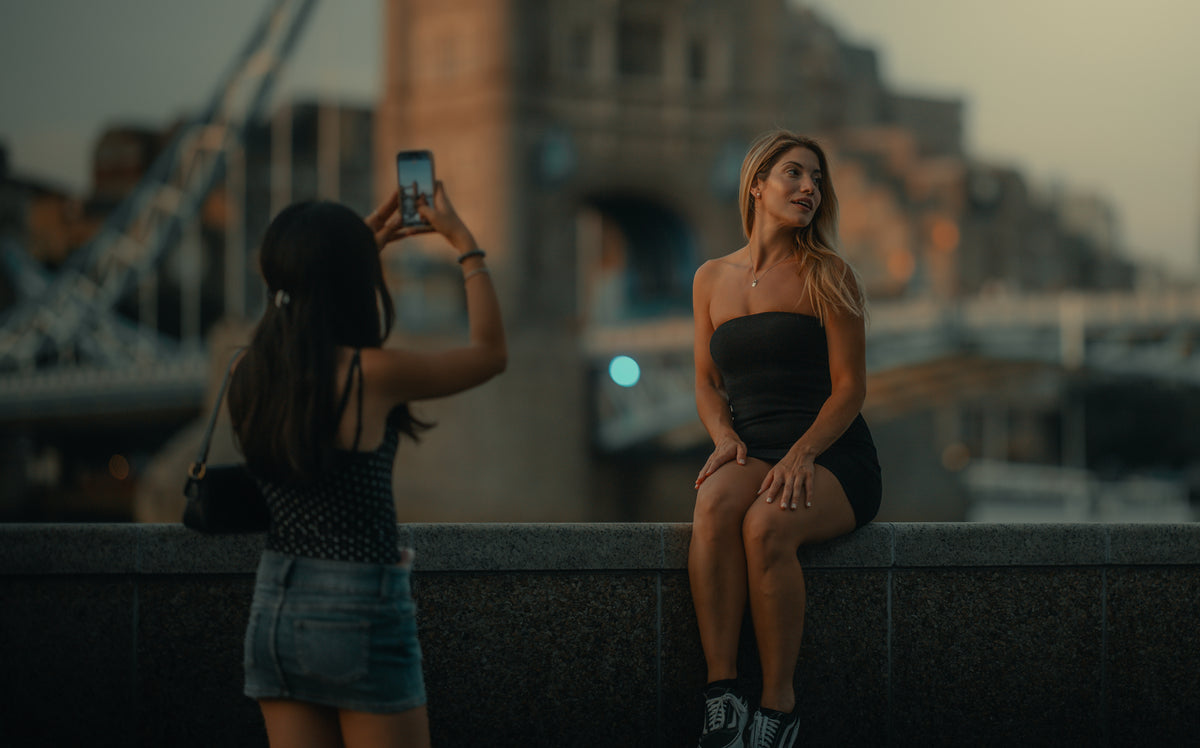
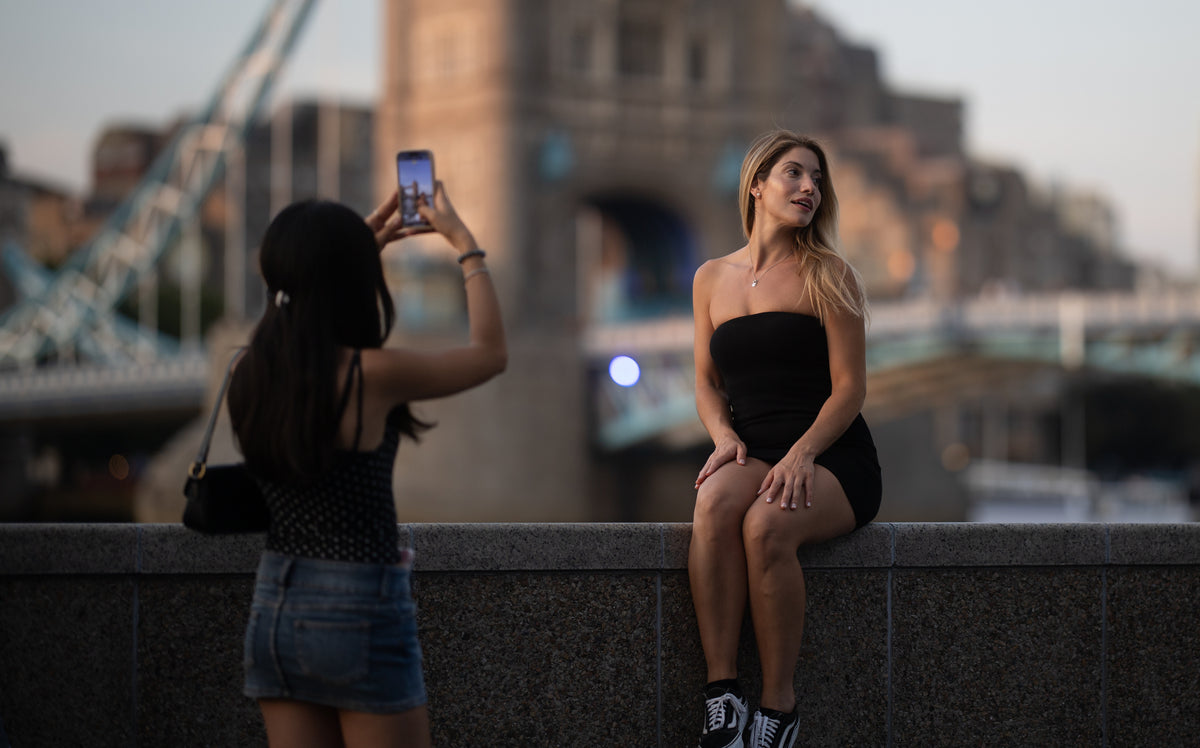
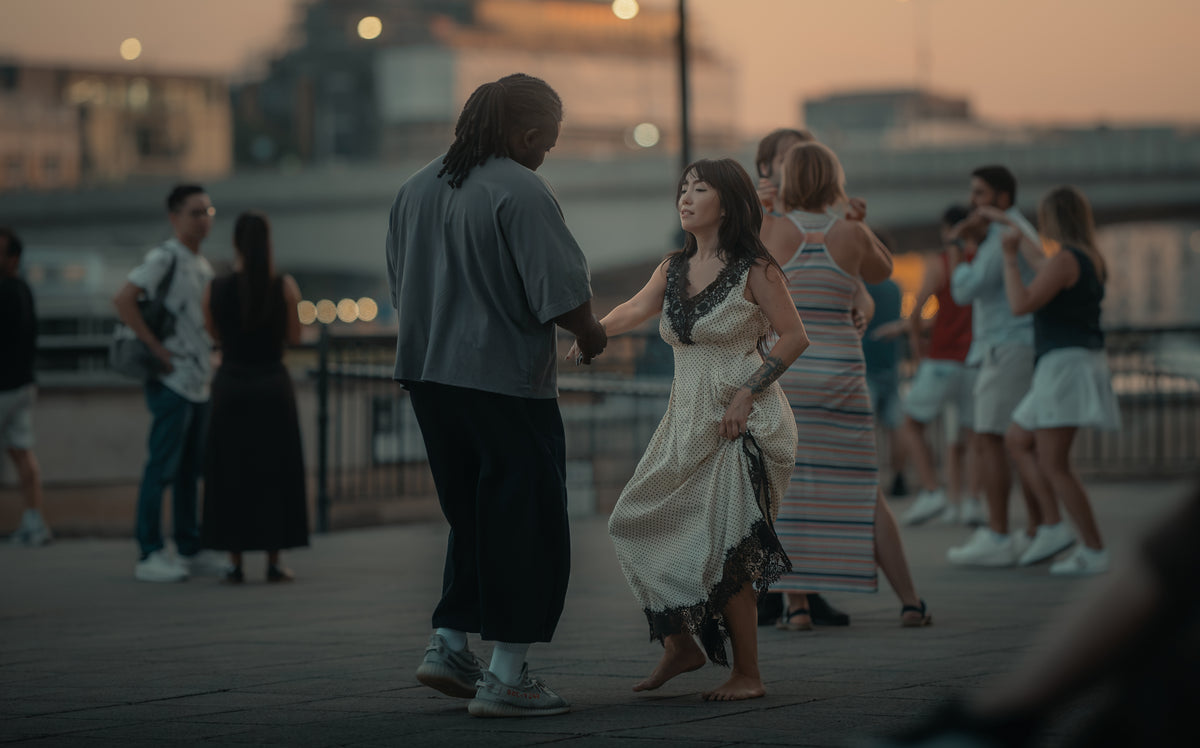
A RAW file keeps all the light data the sensor recorded, which gives you the most freedom when you edit. Dark areas can be lifted, bright areas can be pulled down, and colour can be changed far more than in a JPEG.
And believe me, most photographers edit their photos, even if they say otherwise.
One thing to watch: highlights. If an area is completely blown out (pure white), the detail is gone and no software can bring it back. Shadows forgive far more than highlights.
 RAWGRADED
 RAWGRADED
 RAWGRADED
 RAWGRADED
Drag the slider: the RAW file straight from the camera, and the finished photo.
Use Aperture priority (A or Av)
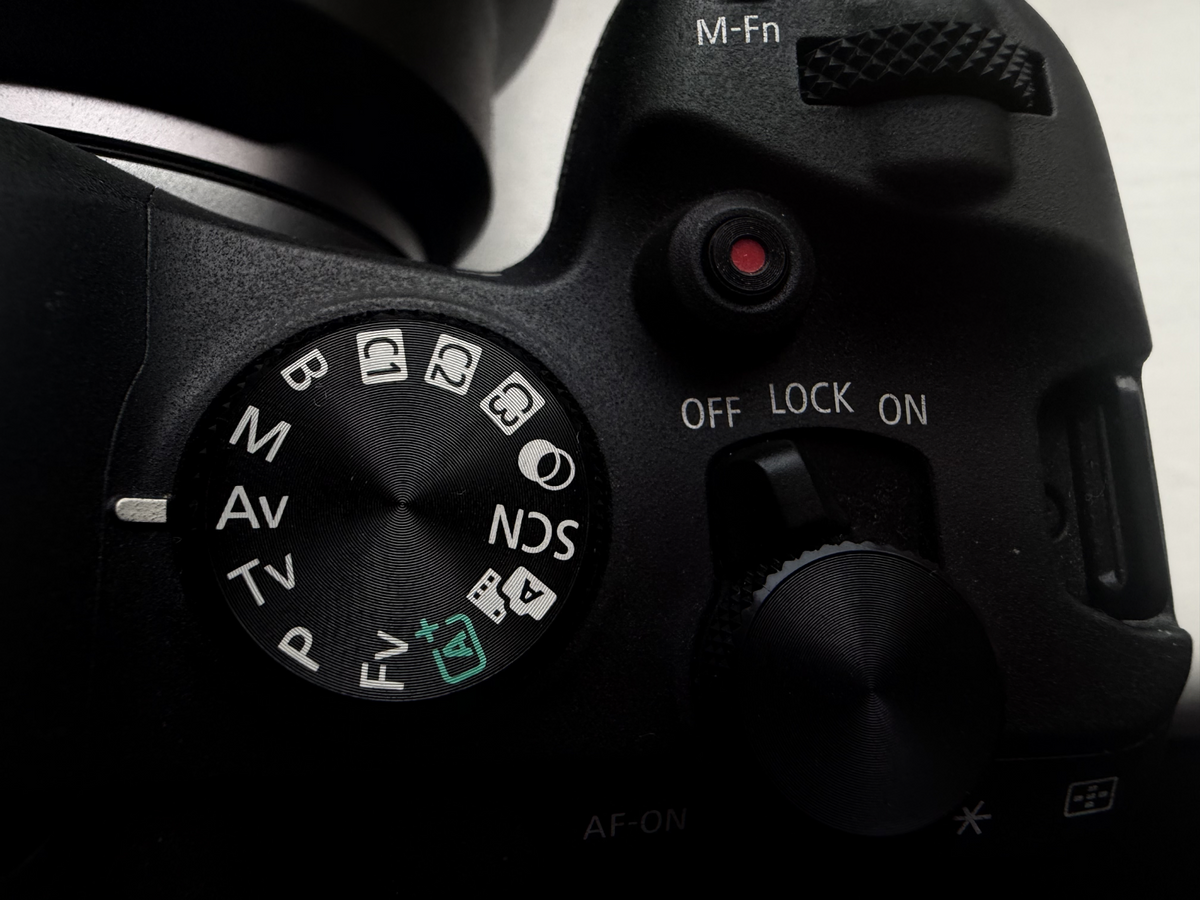
Aperture priority is a semi-automatic mode. You set the f-number, and the camera chooses the shutter speed (and the ISO, if you use Auto ISO) to get the right exposure.
Some people say this isn’t “real” photography. I disagree. On the street, things happen fast, and this mode lets me photograph anyone and any scene without missing it. The camera is already in my hand, the exposure looks after itself, and I only think about where the focus point goes and when to press the shutter.
Imagine having to change white balance, ISO and shutter speed by hand while a scene unfolds in front of you. I would rather catch the moment.
Auto ISO with a minimum shutter speed
ISO is the sensor’s sensitivity to light. A low ISO (like 100) gives the cleanest image, and that’s what the camera uses in bright light. As the light drops, it needs a higher ISO to keep the photo sharp, and the image gets more grain.
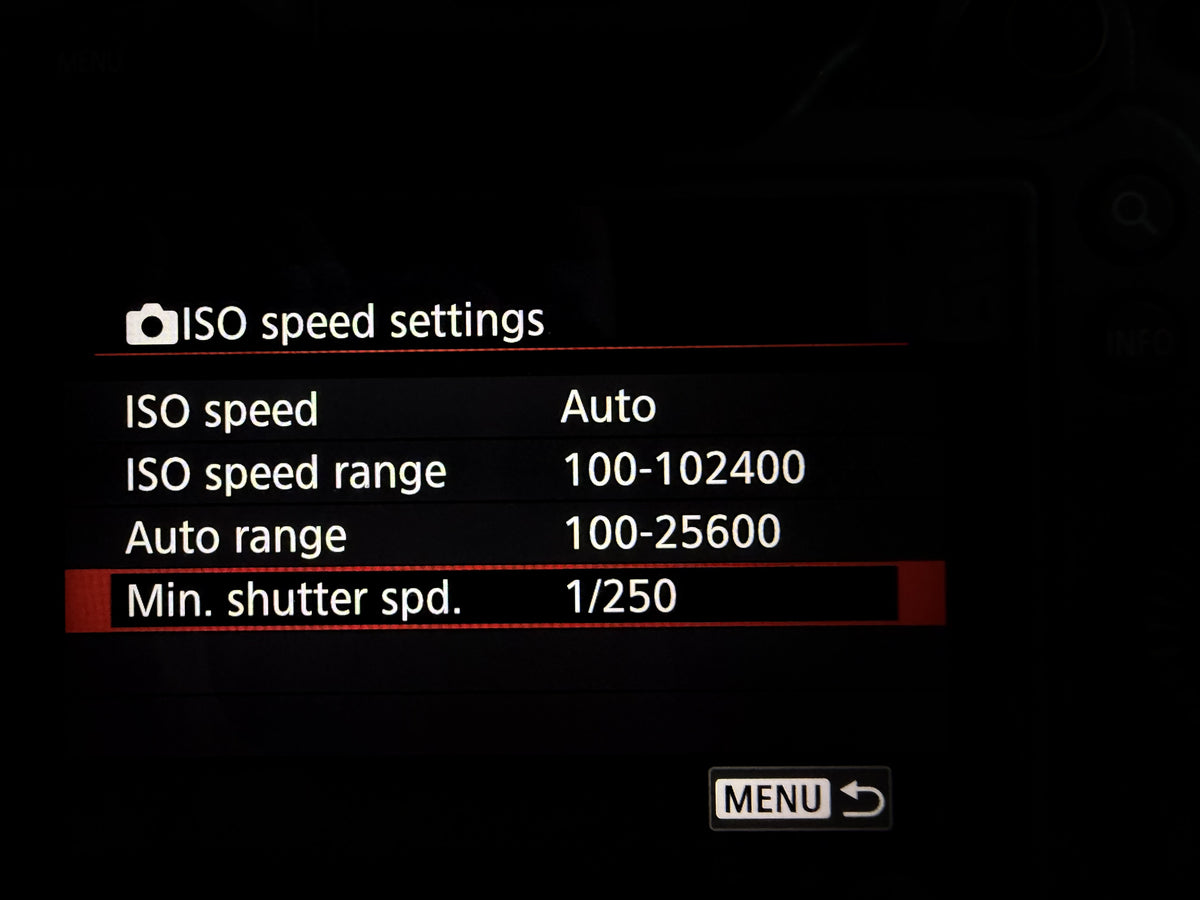
I use Auto ISO with a minimum shutter speed. The camera keeps the ISO as low as the light allows, and raises it only when it has to, so the shutter speed never falls below the number I set.
How to choose the minimum: double the focal length of your lens and use that as a starting point. With my 85mm that’s about 1/170, and I round up to 1/250 to keep my photos sharp. The faster the subject moves, the faster the shutter speed needs to be.
| Lens | Double the focal length | Minimum I would set |
|---|---|---|
| 24mm | ≈ 1/50 | 1/60 |
| 50mm | ≈ 1/100 | 1/100 |
| 85mm | ≈ 1/170 | 1/250 (what I use) |
I would rather have grain than blur. A grainy photo can be cleaned up in editing, a blurry one can’t. A full-frame sensor helps a lot in low light, but I’ve shot with a DSLR and a crop-sensor camera too, and it works there as well. You just have to pay more attention to the basics.
Use Auto white balance
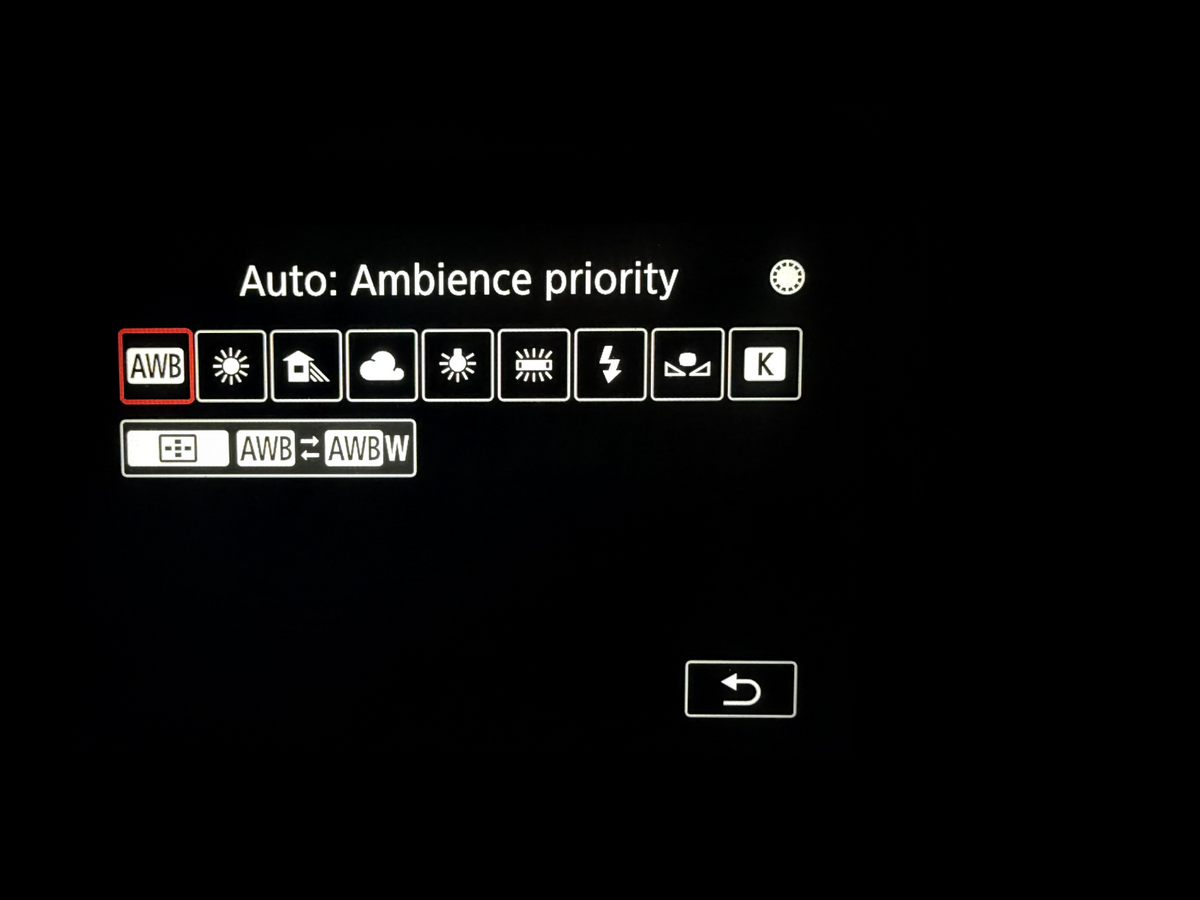
Because I shoot in RAW, I can change the white balance afterwards across the whole range, without losing quality. That makes Auto a perfectly good setting for photos.
Video is a different story: white balance matters much more there. For stills in RAW, it doesn’t, and that’s why I leave it on Auto.
Use continuous drive
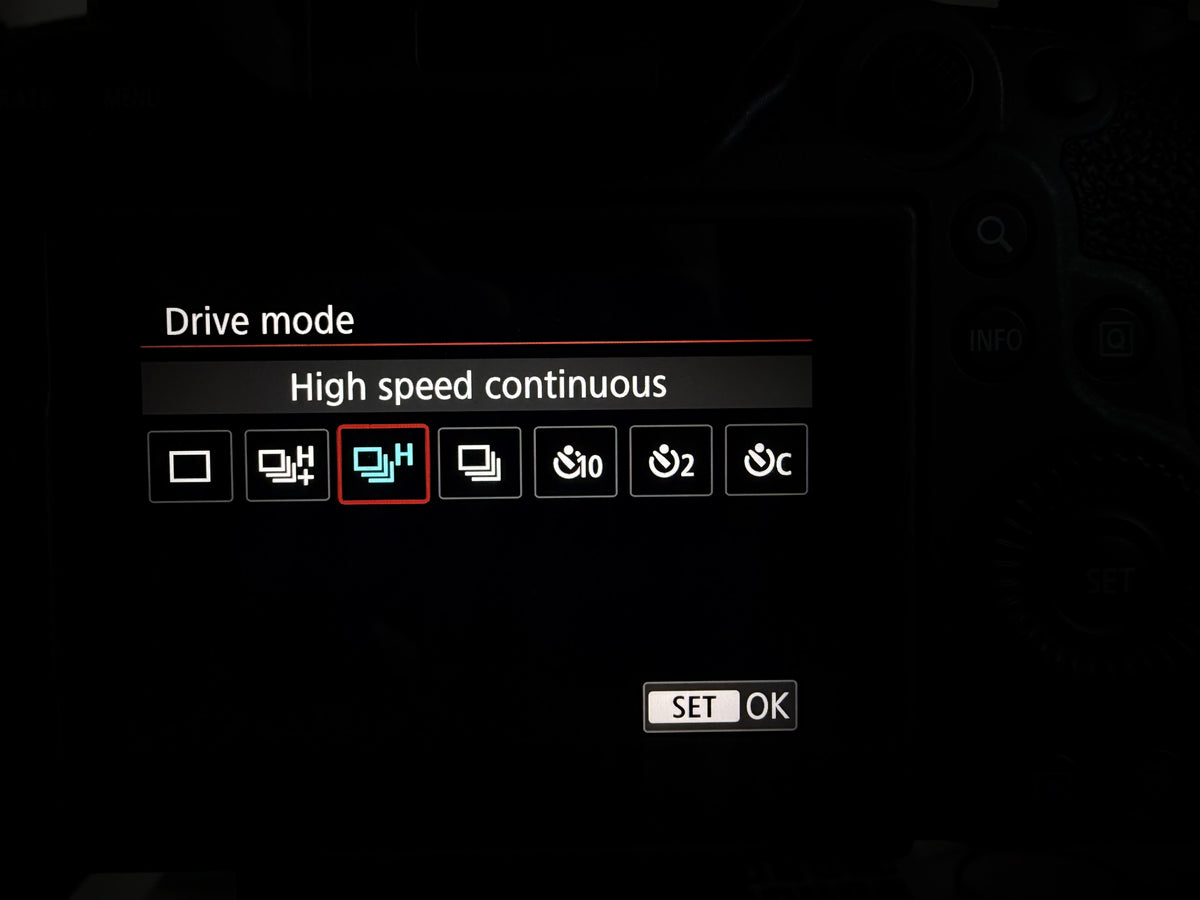
The street gives you scenes that change from second to second. With continuous drive you can shoot a whole sequence of a scene and choose the right frames afterwards.
Most cameras have several continuous modes. On my Canon the options are Single, Low-speed continuous, High-speed continuous and High-speed continuous+. I use High-speed continuous, the step below the fastest, and I’ve used it for years. Canon lists the fastest mode at up to 12 shots a second with the mechanical shutter and up to 40 with the electronic shutter. Unless you shoot sport, cars or wildlife, one step below is plenty. Other brands have the same option under a different name.
How I actually use it: in pulses. I don’t hold the shutter for seconds. I press for a burst of 4–5 frames, let go, press again as the subject comes closer, and so on. For a long scene that means 50 frames instead of 100, less to sort through and less storage used, and I still get the sequence.
My autofocus settings
Focus is where street photos are won or lost. These four settings do the work.
The camera recognises what is on the screen (people, animals, vehicles) and follows it. If a car comes toward you and you put the focus point on it, it detects the car and keeps tracking. I leave it on Auto and don’t think about it.
The smallest focus area, so I pick exactly one thing in the frame. If there are four or five people and I want the one at the back sharp, I put the point there. The other options (1-point, expanded areas, whole area) let the camera look at a bigger part of the screen and choose for you. I want to choose.
The camera keeps refocusing on a moving subject for as long as you are focusing. If someone walks toward you and you lock on, the focus follows them as they come closer. One-Shot AF locks once and stays there.
Most cameras have a small AF-ON button on the back. Press it and the camera focuses and tracks, with no need to half-press the shutter. It takes a little practice at first, but it’s great for street work: focus on something far away that’s coming toward you, keep AF-ON held, move the camera as you like, and press the shutter only when the moment is there.
Metering: Evaluative
I’ll be honest: I have never touched this one. It’s set to Evaluative metering, the first option on my camera. It reads the whole scene and balances the exposure, and that is enough for Aperture priority street photography. If you want to experiment, spot and centre-weighted metering are the next options to try.
F-number: why I shoot at f/1.2
I’ve been using the 85mm f/1.2L for about a year and a half, and it’s on my camera almost all the time. I know many people say it’s not a street lens, and that street photography starts at f/4 or f/6.3. Everyone’s perfect is different, and this is what I love.
The subject separates from the background beautifully, even when a crowd is only a few metres behind them. It works in weak light, the photos are sharp, and I can crop in a lot even when it’s getting dark, without too much noise. For about 95% of my photos, the f-number stays on f/1.2.
When I photograph a building far away, such as Big Ben from the Thames bank, I raise the f-number: 4.5, 6.3, 7.1, 9 or even 11. Sometimes I take one shot at each, to be safe.
Save your setup: C1, C2, C3
The Canon R6 Mark II has three custom modes on the dial (C1, C2, C3) where you can save a complete set of settings. A day setup can live on C1 and a night setup on C2, for example with a lower minimum shutter speed.
I stay on C1 almost all the time. I always go out before sunset, in the golden hour, so I rarely need to switch. C3 holds my slower setup: One-Shot AF, single drive, and the focus beep on. I use it when I photograph a model, a landscape or a distant building, but not often.
The result: I spend very little time on settings. I have my base, and I don’t move from it.
Why I don’t shoot every day
I don’t go out shooting every day, and that’s a choice. It gives me time to edit, time to build the business in the background, and time for everything else, and I don’t get bored of it.
Think about it: if you go out once a week, that’s one set of photos. Go out two or three times a week and you have two or three times as many to sort, store and edit. After a single walk, the RAW files alone can take 60–70 GB, and drives fill up fast and aren’t cheap. You also have to keep choosing a location and a time, again and again, and that takes a lot out of you.
Going less often saves time and money, and keeps my creativity and my love of photography. There are downsides too, of course, but for me the advantages are bigger.
Quick answers
What is the best shooting mode for street photography?
I use Aperture priority (A or Av). I set the f-number and the camera chooses the shutter speed, and the ISO too if Auto ISO is on. It lets me react to a scene without changing settings.
What shutter speed should I use for street photography?
Set a minimum shutter speed of about double your lens’s focal length. With an 85mm lens that’s roughly 1/170, and I round up to 1/250. With a 24mm lens, 1/60 is enough. Faster subjects need a faster shutter speed.
Should I use Auto ISO for street photography?
Yes, together with a minimum shutter speed. The camera keeps the ISO as low as the light allows and raises it only to keep the shutter speed above your minimum. I would rather have a little grain than a blurry photo.
Should I shoot RAW or JPEG?
RAW. It keeps all the light data the sensor recorded, so you have much more freedom when editing, including white balance, shadows and colour. Fully blown-out highlights can’t be recovered, even in RAW.
Which autofocus settings do you use?
Subject detection on Auto, Spot AF for the area, Servo AF for tracking moving subjects, and the AF-ON button on the back of the camera to focus without half-pressing the shutter.
Now make the photos look the way you saw them
Settings give you the moment. Editing gives you the mood. If you want the look I use on my London street photos, start here.
ELYSIUM Cinematic Presets
My Lightroom presets: one click for the base look, then you finish the photo with masks.
Last updated October 2026.