What a pack!! Im so glad I made the purchase. They are enhancing my photos.
Presets are great but the amount of email coming through everyday is ridiculous.
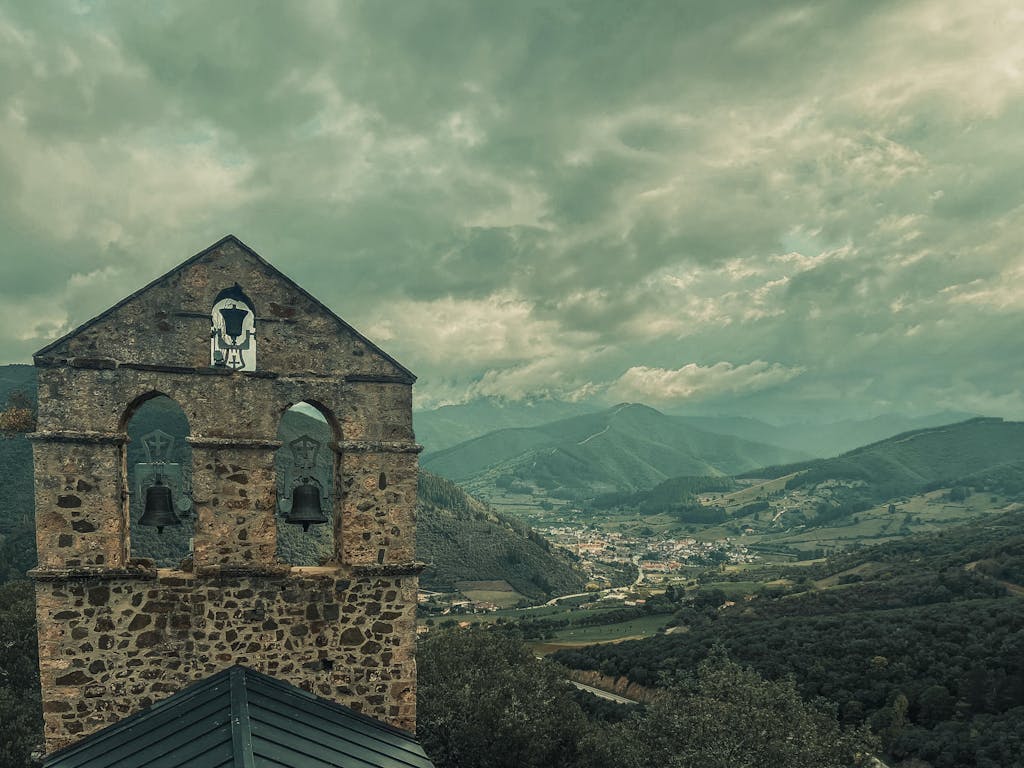
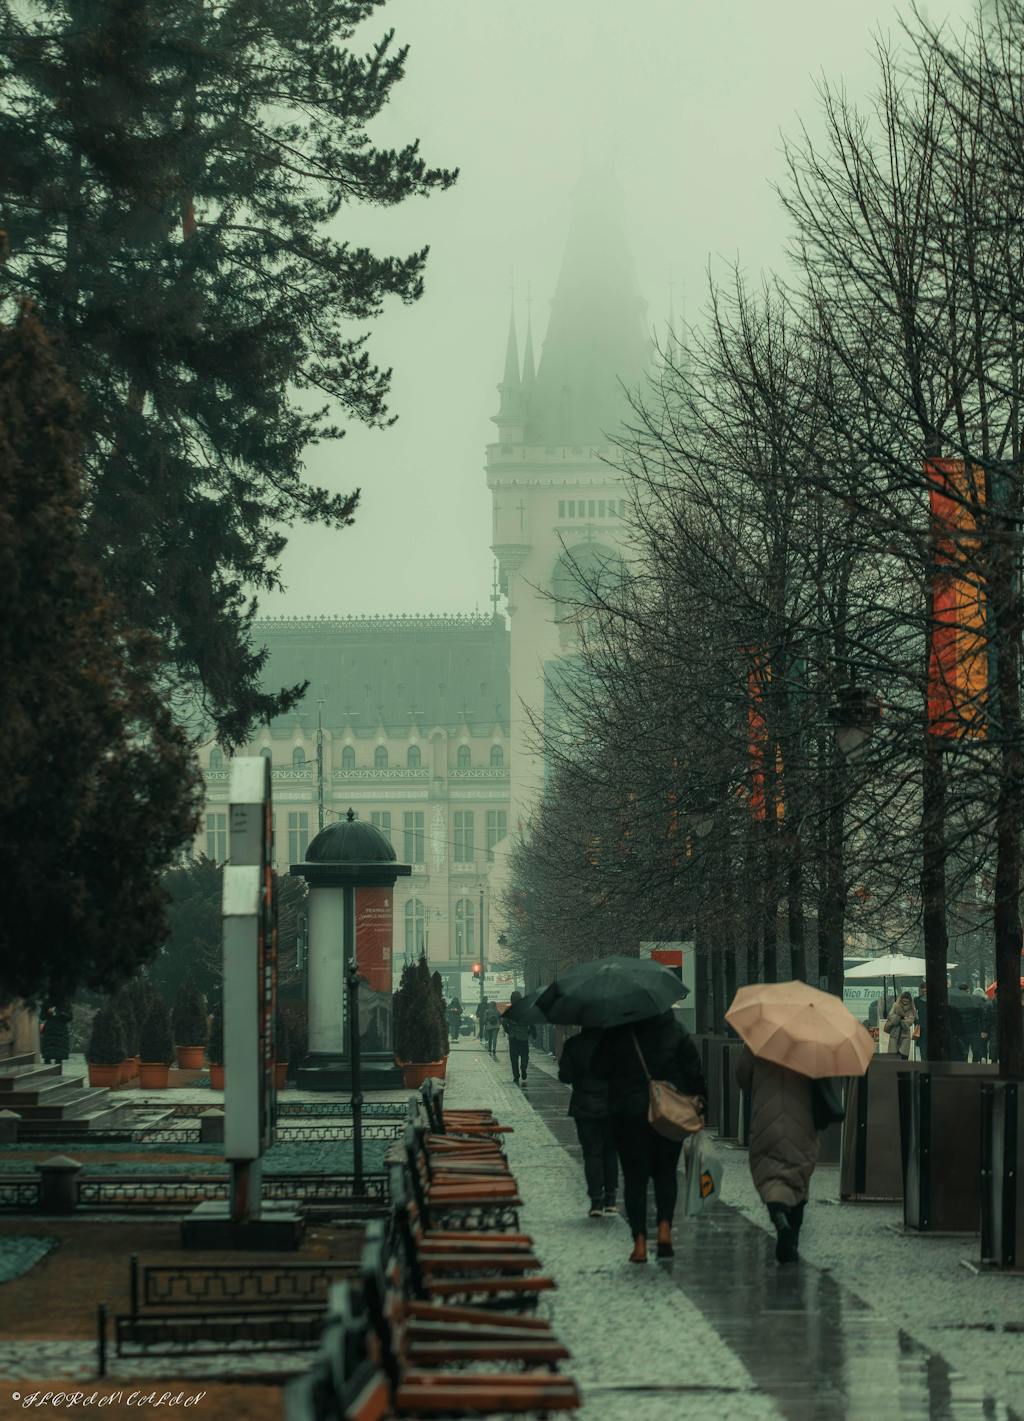
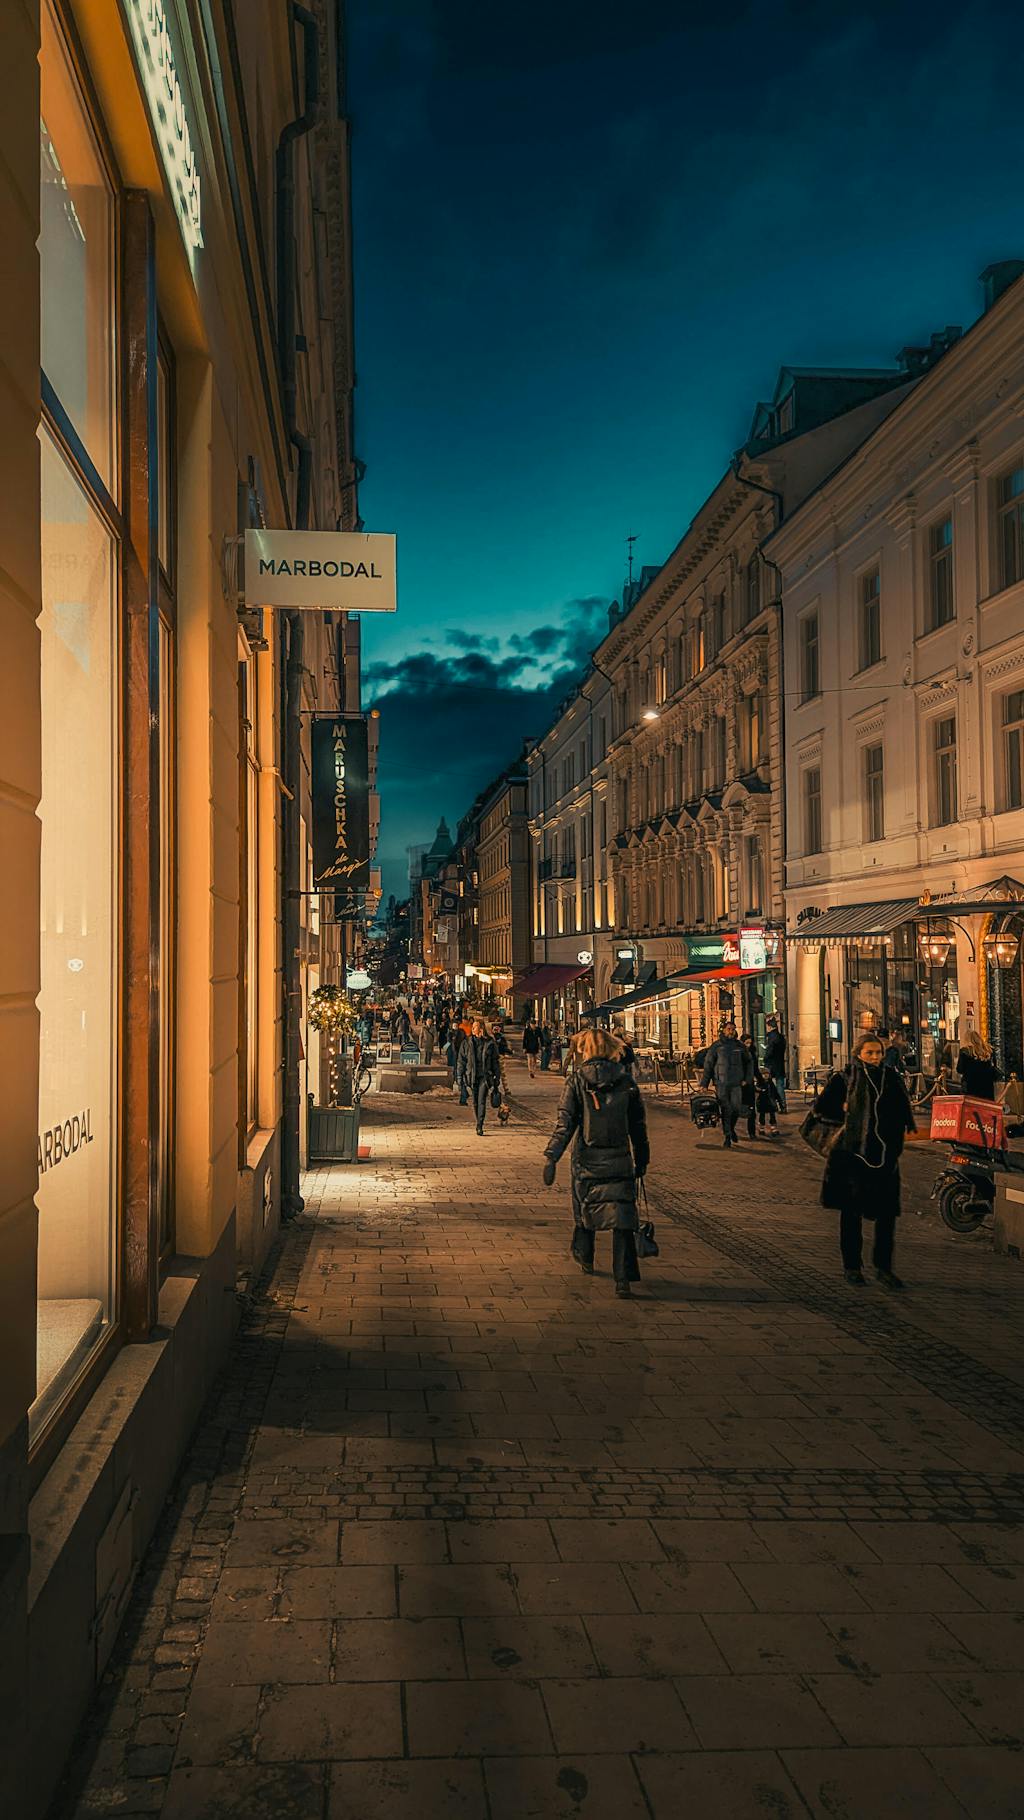
After following the account and being inspired by the images posted, it was time to invest in one of the packages to try them out on my own photos. When it comes to images of buildings and/or urban environments, these presets feel great.
I am delighted with the purchase and the presets have made a big difference to my photographs. Absolutely helps me get the most from my Lightroom.
I advise everyone to make sure you follow the instructions and to ensure you properly adjust each photo. Straight out, the presets can be a little overwhelming, do not let this put you off.
The edit process is simple and well explained in the tutorial.