I love these presets! Ive started expoloring cinematic portraits to match my editing style in Davinci Resolve. These prestes get me 90% there without fuss. Huge time saver and a bargain for the price.

What a pack!! Im so glad I made the purchase. They are enhancing my photos.
Presets are great but the amount of email coming through everyday is ridiculous.
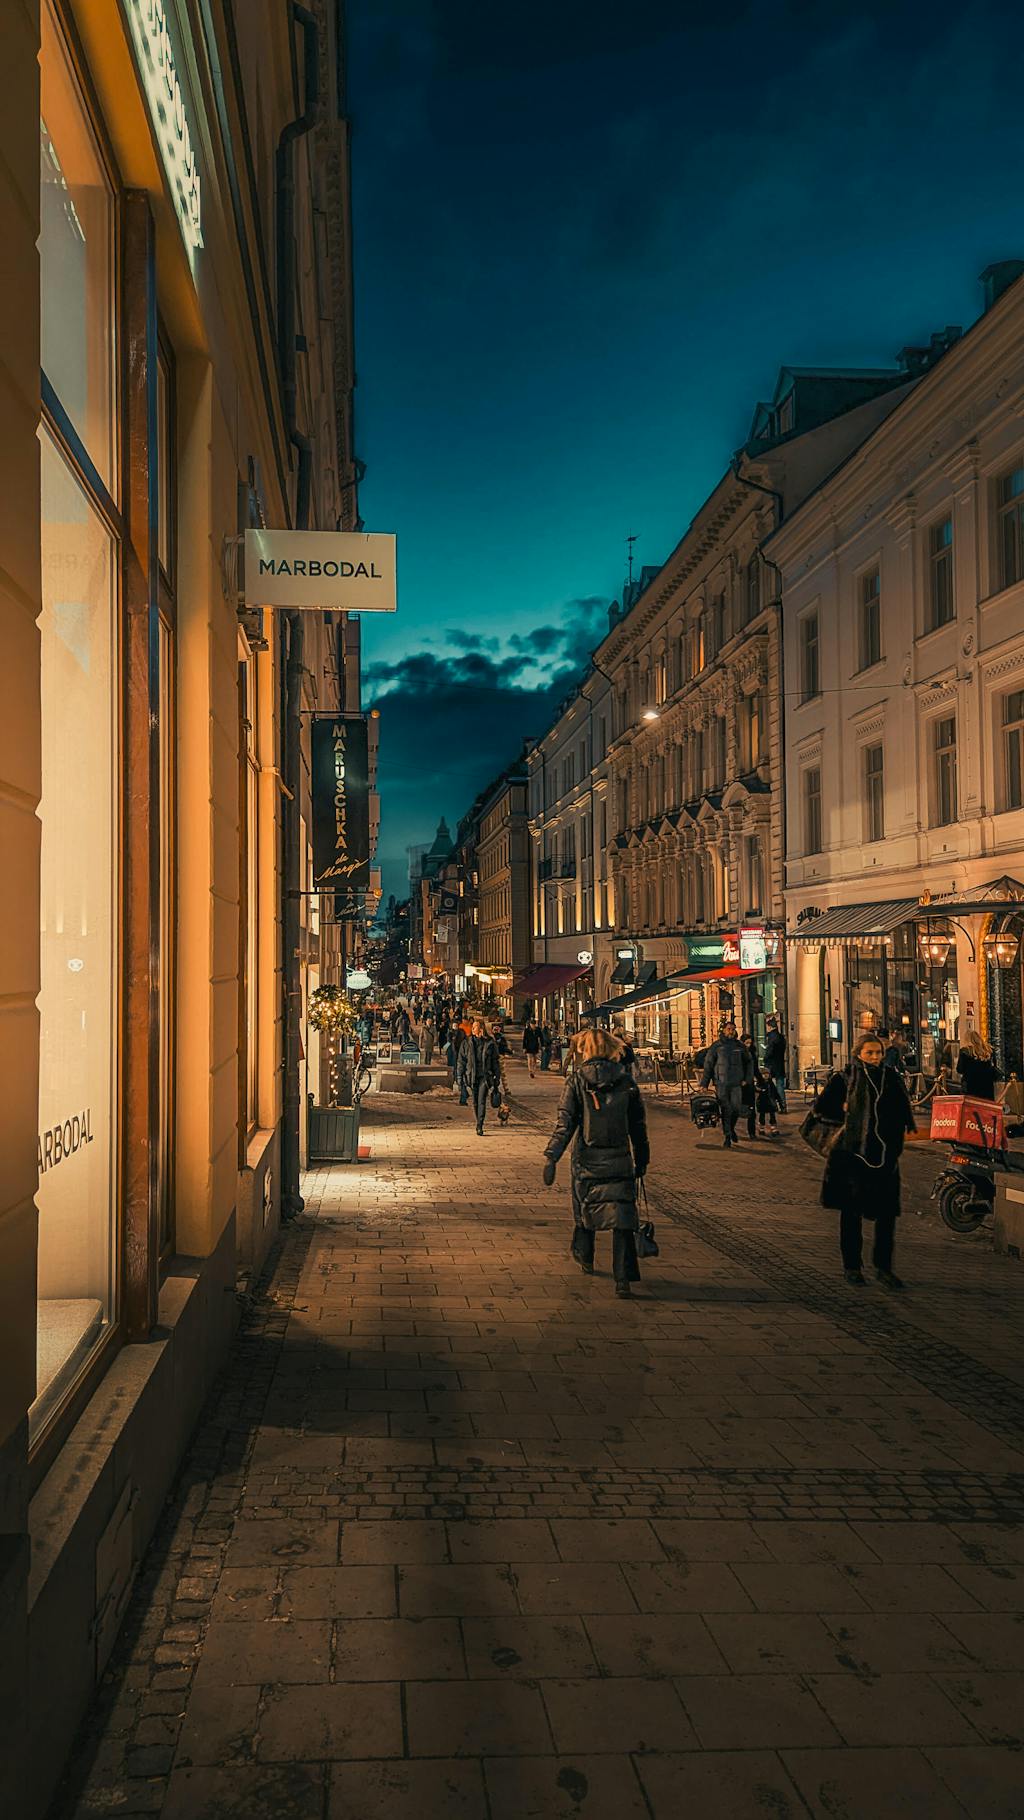
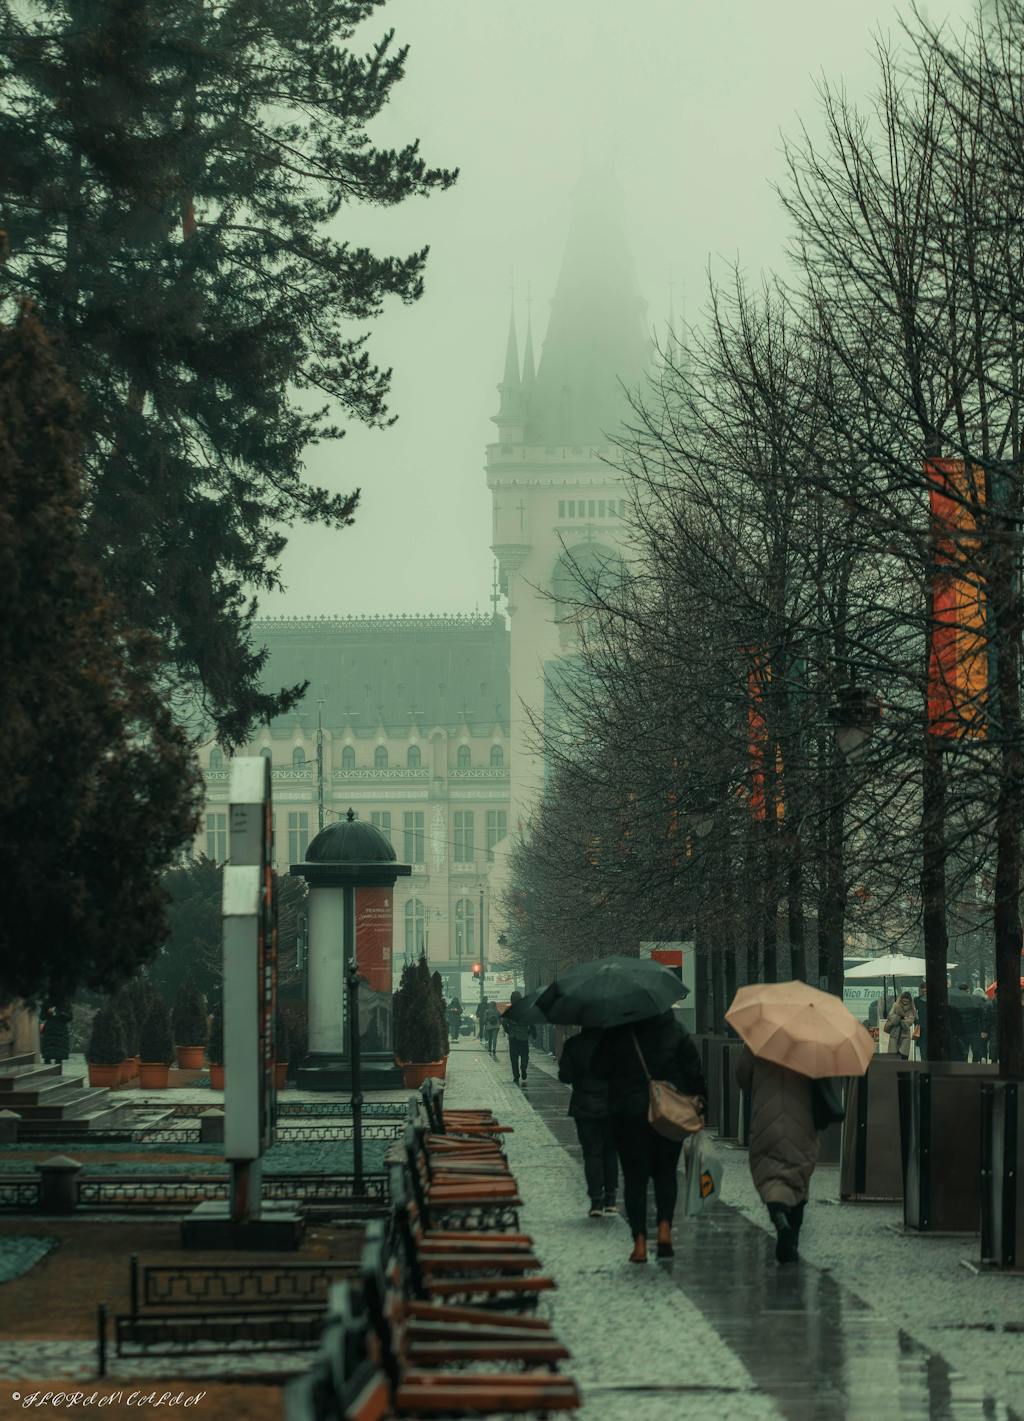
After following the account and being inspired by the images posted, it was time to invest in one of the packages to try them out on my own photos. When it comes to images of buildings and/or urban environments, these presets feel great.